- Quick Start
- Step 2
Step 2: Inspect your dataset
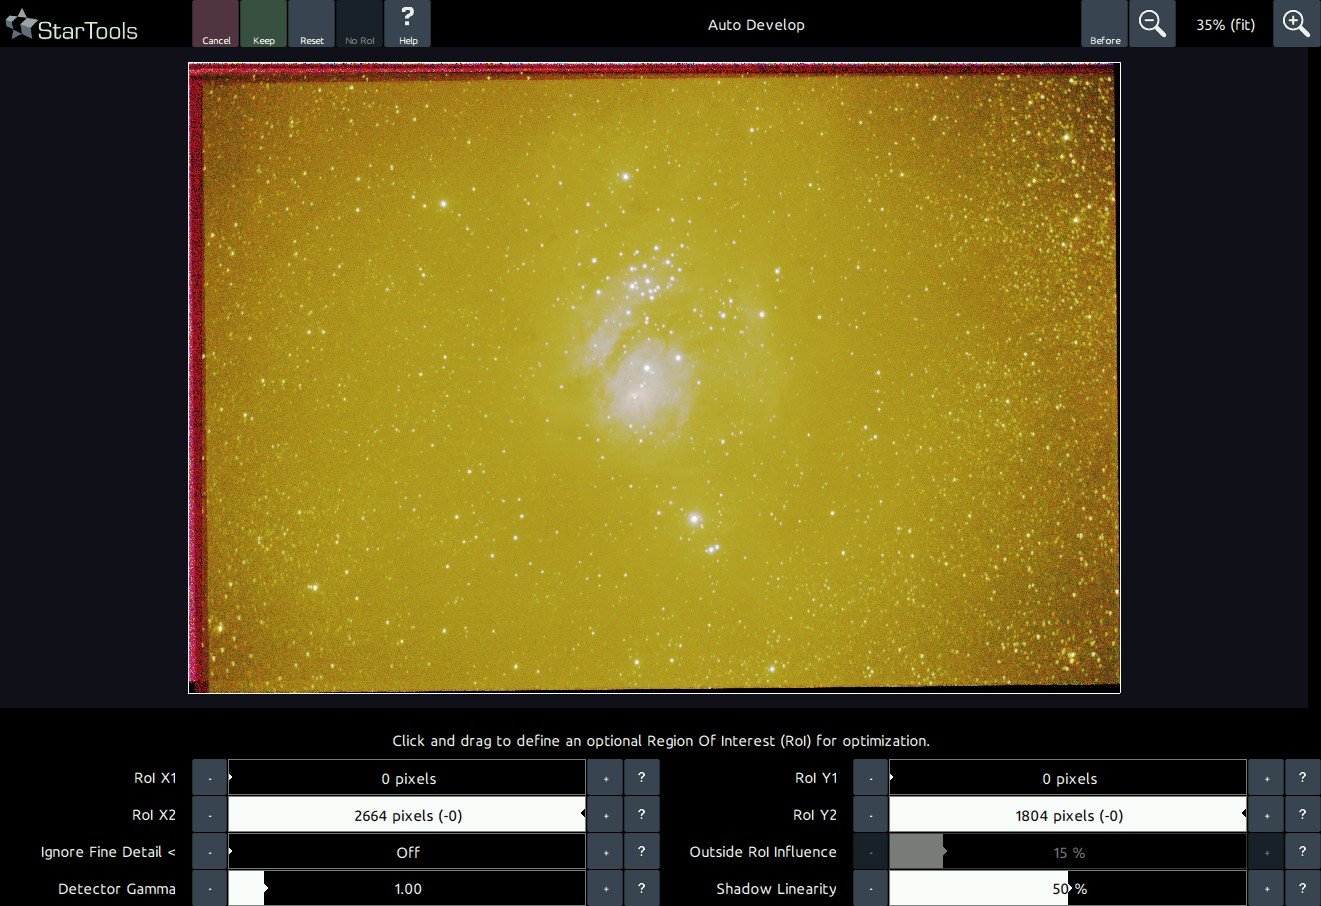
Launch AutoDev to help inspect the data. Chances are that the image looks terrible, which is - believe it or not - the point. In the presence of problems, AutoDev will show them until they are dealt with. Because StarTools constantly tries to make sense of your data, StarTools is very sensitive to artefacts, meaning anything that is not real celestial detail (a single color bias, stacking artefacts, dust donuts, gradients, terrestrial scenery, etc.). Just 'Keep' the result. StarTools, thanks to Tracking, will allow us to redo the stretch later on.
At this point, things to look out for are;
- Stacking artefacts close to the borders of the image. These are dealt with in the Crop or Lens modules
- Bias or gradients (such as light pollution or skyglow). These are dealt with in the Wipe module.
- Oversampling (meaning the finest detail, such as small stars, being "smeared out" over multiple pixels). This is dealt with in the Bin module.
- Coma or elongated stars towards one or more corners of the image. These can be ameliorated using the Lens module.
Make mental notes of any issues you see.
You may also be interested in...
- L. B., United States (under Testimonials)
- Crop: Express Cropping Tool with Switchable Luminance, Chrominance and Narrowband Accent Previewing (under Features & Documentation)
- Usage (under Filter)
The 'Sampling Method' mode selects how a click on the image samples the image.
- Filter: Feature Manipulation by Colour (under Features & Documentation)
It is as close to a post-capture colour filter wheel as you can get.
- Inter-channel Entropy-driven Detail Enhancement (under Features & Documentation)
The Entropy module works by evaluating entropy (a measure of "busyness" or "randomness") as a proxy for detail.